 Lightnsale Docs
Customize
Learn how to design and integrate a custom Lightnsale purchase UI that matches your Shopify store brand.
Customize Your Lightnsale Component
Design a purchase UI that aligns with your brand
Tailor the appearance of your Lightnsale component to match the visual identity of your store.
- 🧩 Configuration Panel (Left): Adjust layout, border radius, colors, and other styling options
- 👀 Live Preview (Right): Instantly preview any changes you make in real time
Once your design is finalized, click the "Save" button. You will see the following confirmation message:
✅ Setting updated
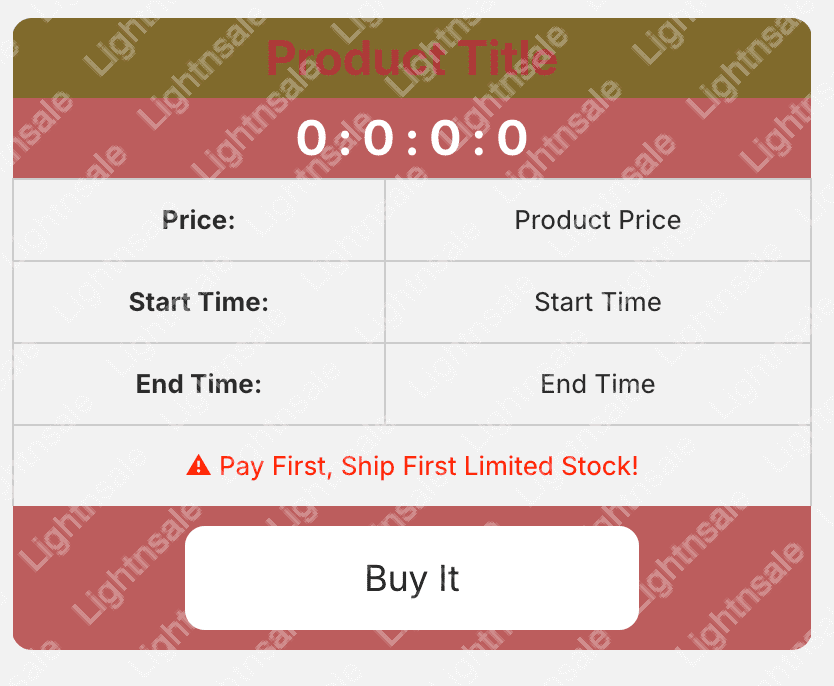
🖼️ Preview Example
Integrate the Component into Your Shopify Theme
Step 1: Access the Theme Editor
Navigate to the theme customization section: Online Store > Themes > Customize
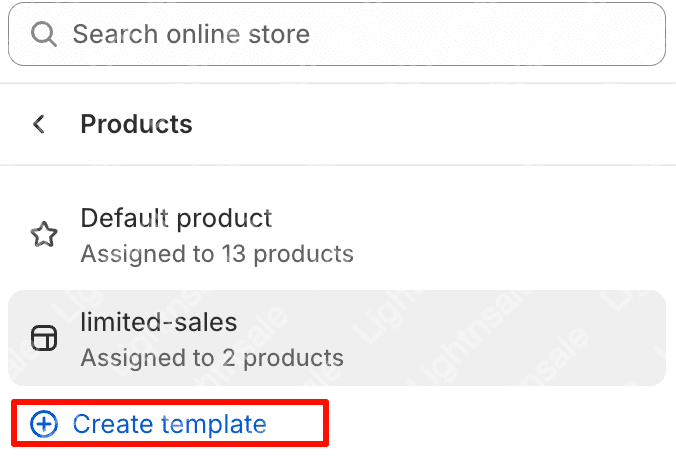
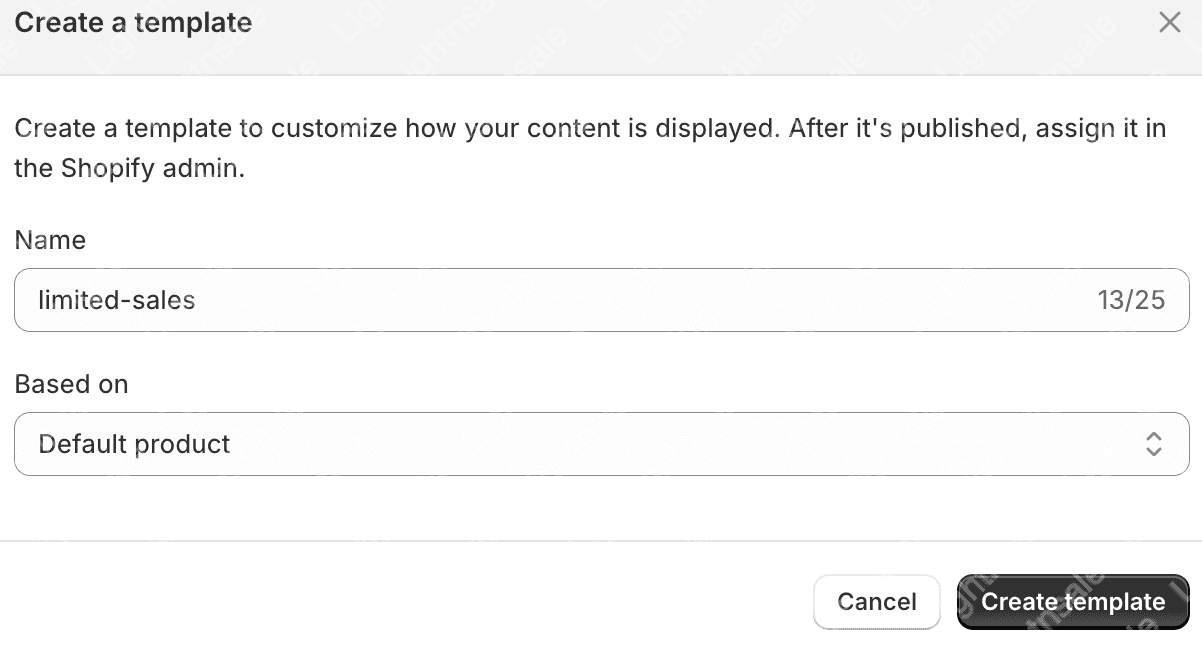
Step 2: Name Your Template
Assign a clear and meaningful name to the new template — for example: limited-sales.
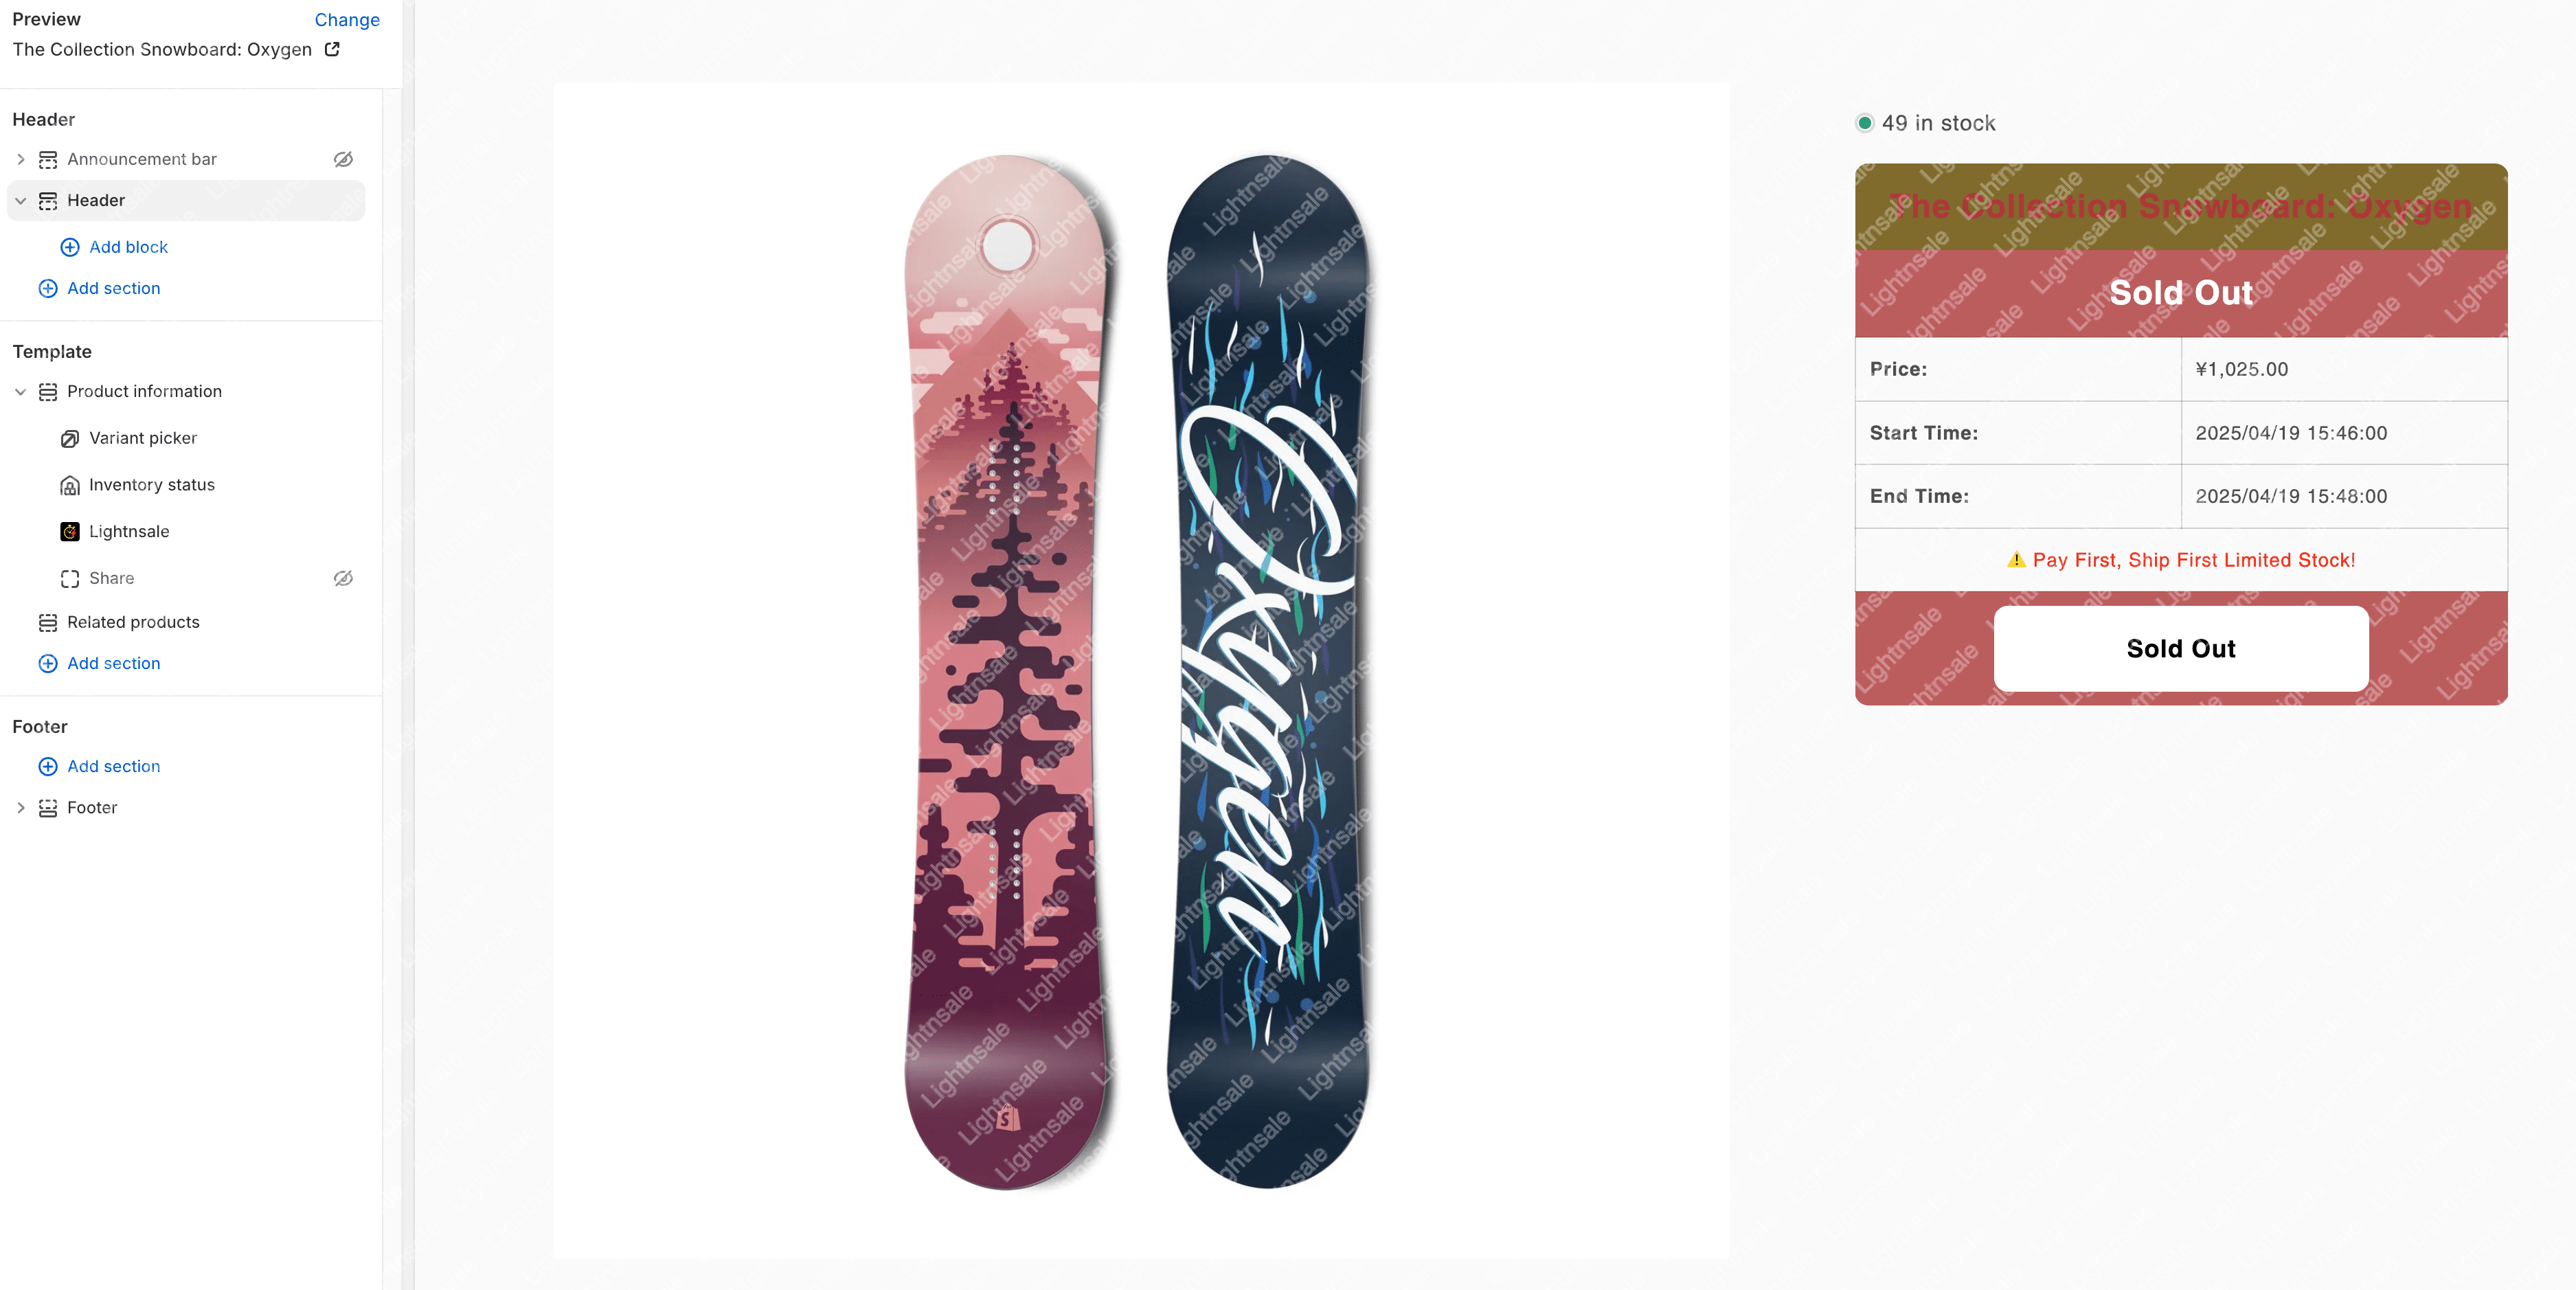
Step 3: Add the Lightnsale UI Block
In the Product Information section, click Add section, then select Apps: Lightnsale

Step 4: Configure the Component Style
Choose the style you created earlier, and make any final adjustments to match your storefront aesthetics.
💡 Pro Tip: Use your brand’s primary color to highlight key elements.
📬 Need Help?
Have questions or feedback? Reach out to our support team anytime:
📮 Email: [email protected]
⏱️ We will respond as soon as possible.